DIY Repair Guide for Samsung Galaxy A Series
Updated: 05 Mar 2024
789
The Samsung Galaxy A series phones are super cool with their sleek design and awesome features. But sometimes, they can have problems, like a cracked screen or a battery that doesn’t last long. Don’t worry! You can fix some of these issues yourself. This guide will show you how to do basic repairs on your Galaxy A series phone, saving you time and money.
Common Repairs
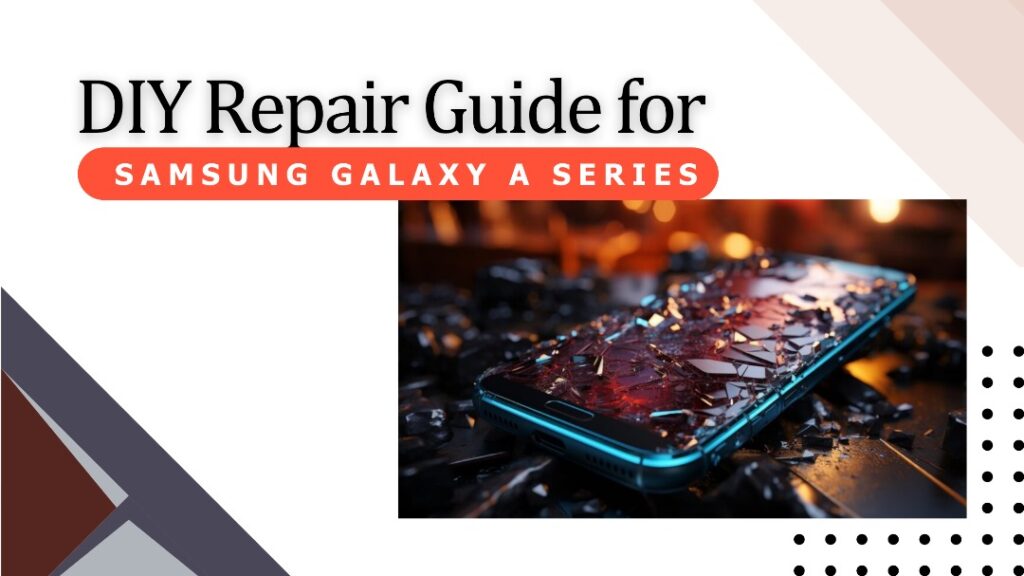
1. Screen Replacement:
Imagine you accidentally dropped your phone, and now the screen is cracked. Oh no! But don’t panic. You can fix it yourself! First, take off the back cover of your phone. It’s like opening a secret door to see what’s inside. Then carefully remove the battery. Next, find the screws that hold the screen in place and unscrew them.
Once the screws are out, gently detach the old screen from the phone. Be careful not to break anything! Now, it’s time to put the new screen on. Make sure it’s aligned correctly and then screw it back in place. Voila! Your phone has a brand-new screen!
2. Battery Replacement:
Have you noticed that your phone’s battery doesn’t last as long as it used to? That’s okay! You can replace it yourself. First, turn off your phone and take off the back cover. Look for the screws that hold the battery in place and unscrew them.
Once the screws are out, gently unplug the old battery from the phone. Now, take the new battery and plug it into the phone. Screw everything back together, and you’re good to go! Your phone will have a fresh new battery that lasts longer.
3. Camera Repair:
Is your phone’s camera acting up? Are your pictures coming out blurry? Don’t worry! You can fix it yourself. First, take off the back cover of your phone. Look for the screws that hold the camera in place and unscrew them. Once the screws are out, gently unplug the old camera from the phone. Now, take the new camera and plug it into the phone. Screw everything back together, and you’re all set! Your phone will have a brand-new camera that takes awesome pictures.
4. Charging Port Replacement:
Is your phone not charging properly? The charging port might be broken. But don’t worry! You can fix it yourself. First, turn off your phone and take off the back cover. Look for the screws that hold the charging port in place and unscrew them. Once the screws are out, gently unplug the old charging port from the phone.
Now, take the new charging port and plug it into the phone. Screw everything back together, and you’re good to go! Your phone will charge like new again.
Tips and Best Practices
Safety First: Always turn off your phone and take out the battery before fixing anything. You don’t want to accidentally damage your phone or hurt yourself!
Use the Right Tools: Get good quality tools to avoid breaking anything. It’s like having the right tools for a job – they make everything easier!
Follow Guides Carefully: Look up guides online that match your phone model. It’s like following a recipe to make sure your food turns out just right!
Test Before Putting Back Together: Check if the fixed part works before closing up your phone. You don’t want to put everything back together and then realize something isn’t working!
Conclusion
You can totally fix some issues with your Samsung Galaxy A series phone by yourself. Just follow the steps and be careful. But if you’re not sure or don’t feel comfortable, it’s okay to ask for help from a professional like Screen Fixed. It’s better to be safe than sorry! So, go ahead and give it a try! You’ll feel like a superhero saving the day by fixing your own phone.
Please Write Your Comments